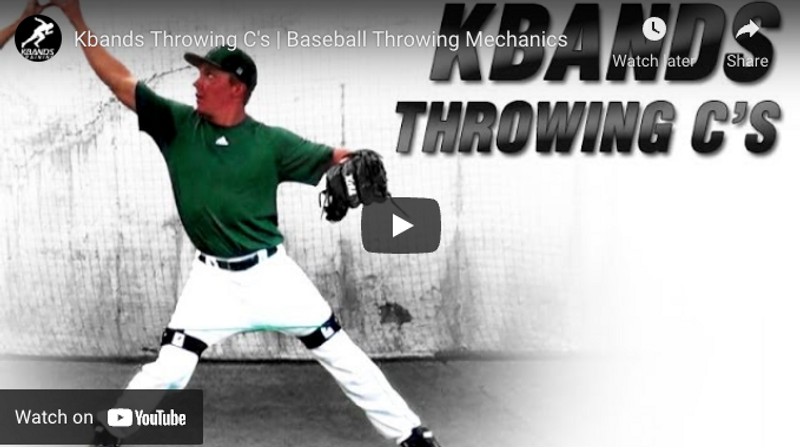
Kbands Baseball Throwing C's
Both youth and adult baseball players benefit from baseball pitching drills that generate arm strength as well as power in the lower half of the body. Pitching, like most controlled and explosive motions, begins in the core. The force and velocity behind the pitch come up from the ground and through the lower body before being delivered through the arm. But while the force of the pitch is generated from below, accuracy and control come from the shoulder, arm, and wrist. So the most comprehensive pitching exercises emphasize both, and the best youth pitching drills allow younger players to build correct muscle memory and positive habits from the start.
This drill, called the Kbands throwing Cs, can be broken down into three stages, with each stage focusing on a different aspect of strength and accuracy on the pitch. In this video, trainer Matt Johnson takes viewers through all three stages while providing pointers that can help pitchers throw with force and precision.
Baseball Pitching Drill: Setting Up the Throwing C's
This drill will require a strike zone, a ball, and a set of Kbands resistance bands for each participant. Players can warm up and stretch before attaching the bands to the upper legs. But otherwise, this drill involves minimal set-up. This is an easy exercise to work into a regular training program, but each player will require focused feedback and individual attention from a partner or coach.
Baseball Pitching Drill: Executing the Throwing C’s
This drill takes place in three stages. The first will emphasize strength and conditioning in the core and lower body. The second will take the focus to the throwing arm, and the third will emphasize the completion of the pitch.
Throwing Cs: Stage 1
The first stage of this baseball pitching drill involves a slide motion that generates power and explosiveness in the lower body. Players may have completed this drill in the past, but in this version, the added tension of the Kbands resistance bands can generate new challenges and can help players identify and correct minor errors in their lower body position during the pitch.
To execute this move, athletes will plane the body and move down the strike zone in a lateral motion. At each gliding stride, the arms will rise out the sides and the hands will take the shape of a C, as they do just before the pitch. As they stride, athletes should focus on covering ground, not on generating height. Each stride should be as wide as possible, and players should stay mindful of small imperfections in the motion that can interfere with balance and control. This drill provides a perfect opportunity to get these imperfections corrected. This first stage should involve ten reps down a length of five to ten yards.
Throwing C's: Stage 2
In the next stage of the drill, players will concentrate on the transition from the stride into the throwing motion. This drill will begin with one giant stride with elevated arms, rather than several strides in a row. After the single stride and the rise of the arms, the athlete will move directly into the pitch.
During the pitch, the athlete will concentrate on several areas of technique, including the big Cs, full expansion in the arms, and explosiveness in the single stride that precedes the throw. This phase of the drill should be completed in ten reps, but at each rep, the athlete should throw only one time and then return to the starting point.
This drill can begin at a distance of about 60 feet from the end of the strike zone, but as players become more advanced and the strength behind the pitch begins to increase, the distance can be increased.
Throwing C's: Stage 3
This final stage of the baseball pitching drill will be especially useful for youth athletes who are still in the developmental stages of the pitching process, since it helps build the muscle memory necessary to generate correct technique. This stage requires players to reach up and behind the body to grasp the ball, which is held in place by a coach or partner. Since the player is has to reach in order to get the ball, the full expansion in the upper body is reinforced every time.
On the way into a complete power position, the player will move through all five stages of proper pitching mechanics. At the final stage, having to reach for the ball will correct the natural tendency of youth athletes to extend only to shoulder level. The coach should be sure to hold the ball higher than the level of the pitcher’s head.
Another tendency of youth players involves grasping the ball and pointing it toward the catcher before the throw. Instead of showing the ball to the catcher, the athlete should keep it directed toward second base, as if showing it to the second baseman.
Coaching tips can be very useful at this stage of the pitching sequence, include feedback on balance. Coaches should help players make sure their weight stays centered, and not leaning toward the front leg. Prior to the pitch, the weight should be equally distributed to the back leg. Coaches should also make sure players extend the pitching arm fully forward during the throw, as if dropping the ball directly into the catcher’s mitt.
In this final stage of the drill, players should complete ten reps of the full throwing motion, and the strike zone for each throw should be less than 60 feet away. This way the throwing shoulder won’t be overextended and the ball will move along a flat line (this drill will be more effective with less loft in the motion of the ball.)

