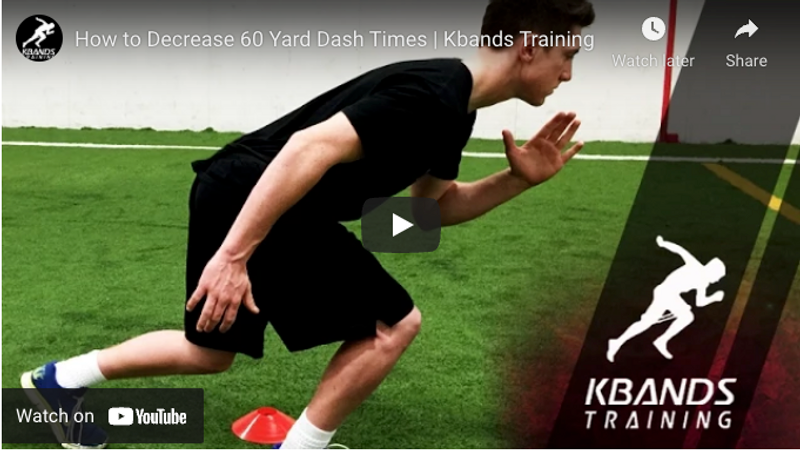
How to Increase 60 Yard Dash Times
Many athletes have heard about the 40 yard dash and its importance to evaluating athleticism. To a certain degree, the 40 yard dash can judge an athletes ability to accelerate and obtain top speed in a short distance. However, most athletes take between 30 and 50 yards to reach their maximum velocity, more advanced athletes closer to 30 yards whereas less advanced athletes will be closer to 50 yards. This means that many athletes who are training for maximum speed, but only sprinting 40 yards, are missing out on a fantastic opportunity to make great strides in their maximum sprinting ability.
Athletes will ensure they are able to attain top speed and maintain it for at least ten yards by simply adding 20 extra yards and making the sprint 60 yards instead of 40 yards. This allows athletes to build greater strength in their hip flexors, increase the range of motion in their hips and legs, and allow them to focus on stride frequency late in their sprint. All of these benefits can be obtained by simply moving the finish line back 20 yards and performing 60 yard dashes.
Practicing Arm Action For A 60 yard Dash
An athlete’s ability to utilize their entire body during competition can greatly enhance their ability to sprint faster, jump higher, and be more agile during competition. This simple drill will help athletes master their arm action when learning how to increase their 60 yard dash time.
To begin this arm action drill athletes will sit down so their hips and torso are at a 90 degree angle. Athletes will practice good running mechanics by placing the elbows also at a 90 degree angle. Once athletes have their body in correct position they will vigorously begin to stimulate their arms while performing a maximum speed sprint. This means athletes will keep their arms and hips at a 90 degree angle while quickly moving the arms back and forth in a running motion. Athletes want to attain good muscle memory from this drill without fatiguing themselves. To accomplish this athletes will perform 3-4 sets of 15 seconds of the arm action drills. These speed drills will allow the athlete to simulate running the 60 yard dash while not exerting a large amount of energy in the process.
Proper Starting Position For The 60 Yard Dash
More advanced athletes will begin the 60 yard dash from a proper sprinting stance. Athletes unfamiliar with the proper body sprint positioning can start from the standing position with knees slightly bent, chest pointed toward the ground, and one foot in front of the other.
The athletes first few steps of the 60 yard dash should be powerful as the athlete maintains a low chest position and uses powerful strides to accelerate their body toward the finish line. Remember to utilize the arm action drill during the 60 yard dash by performing strong powerful arm movements. Once athletes have gone through their “dig phase” they will need to focus on their stride frequency and stride length. Stride length is not the amount of space an athletes feet cover, but is instead the amount of space an athlete can cover with a single bound. It is important coaches instruct athletes to not reach out in front of them to pull the ground toward them. Instead coaches should instruct athletes performing the 60 yard dash to use quick and powerful foot contacts which make contact underneath the athletes body. This method allows athletes to take advantage of their bodies natural systems which work to enhance sprinting ability.
Now You’re Ready To Sprint
Athletes will need 2-4 Speed and Agility Cones and a set of Kbands to perform the resisted 60 yard dash. Be sure athletes use a resistance which is challenging but will not alter their natural running movements.
Athletes will set up with a good starting position and utilize good running mechanics throughout the 60 yard dash. Athletes need to work to not let the resistance control their movements but to be powerful and push through the resistance. Athletes will complete 8-10 resisted 60 yard sprints before removing the Kbands and performing 3-4 un-resisted 60 yard dashes. Athletes should notice the difference in their legs and hips once the resistance is removed. Athletes should still utilize good running mechanics and take advantage of the “light leg” feeling when the Kbands are removed during the 60 yard dash drill.
Allow 40-90 seconds of rest between sets to allow the body time to recover. This will ensure sprints are performed at maximum speed, form, and technique will not be compromised due to fatigue.
How Resistance Effects Your Body During 60 Yard Sprints
Adding Kbands to the 60 yard dash forces several parts of the body responsible for running to adapt and increase in strength and power. As athletes bring their knee up toward their torso during a sprint a muscle in the quads known as the rectus femoris is activated. This muscle is responsible for flexing at the hips which is an important motion during a 60 yard sprint. By adding resistance to this 60 yard dash athletes will force this muscle to exert a greater amount of force than it is used, thereby activating a larger portion of the muscle, which means the muscle can now fire with greater force.
Athletes may wonder why it is important to strengthen a muscle which simply flexes the hip. This has nothing to do with ground force production of foot turnover. However, when this muscle is activated and flexing the hip it can help create a greater force for the leg when it makes contact with the ground and then powerful pushes off the ground. Strengthening this muscle is key to improving 60 yard dash times and should not be ignored during athletic training. Athletes should go to the training section and check out the Kbands Wall Runs to further increase their 60 dash time.

