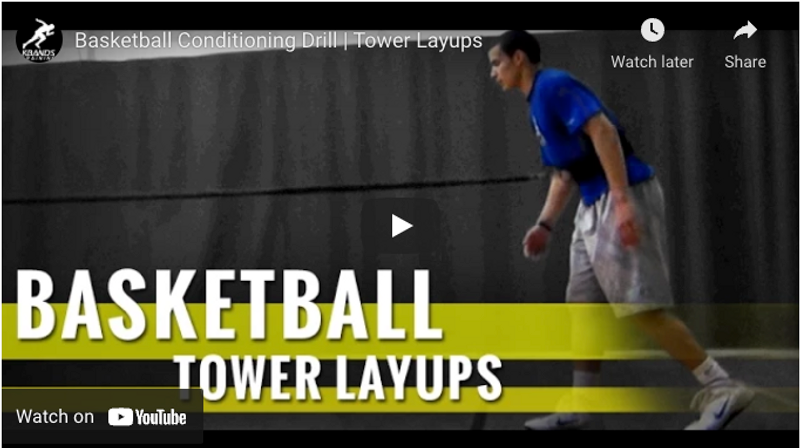
Basketball Conditioning Drills | Basketball Tower Layups
Basketball players are always looking for that easy shot and a finish they can add to their highlight reel. In order to complete both of these actions a player must be able to drive through the lane and get to the basketball rim, all while receiving contact. This takes a few basketball skills such as acceleration, explosion, good change of direction, and balance. The basketball conditioning drill, named Basketball Tower Layups, uses the Reactive Stretch Cord to help basketball players improve on all of these basketball skills.
This simple basketball conditioning drill is very easy to set up and execute. Be sure to pay attention to the athletes form throughout the Basketball Tower Layup Drill, and be sure to make corrections to form as needed. Do not let the assistance or resistance cause things such as over striding or improper running form throughout the basketball conditioning drill. If coaches or partners witness any break down in the athlete’s form during the basketball conditioning drill, the resistance/assistance needs to be reevaluated and adjusted as necessary to ensure proper form during the drill.
Basketball Conditioning Drill | Basketball Tower Layups: Setting Up The Drill
To set up the basketball conditioning drill an athlete will need a basketball, Reactive Stretch Cord, and an anchoring partner. Place the basketball slightly behind the center of the free throw line. Athletes performing the Basketball Tower Layup should first attach the Reactive Stretch Cord snuggly around their waist while the anchoring partner secures the safety harness around their wrist. For the basketball conditioning drill, athletes should line up directly underneath the basketball goal while the anchoring partner stands several feet behind the free throw line.
Basketball Conditioning Drill | Basketball Tower Layups: Executing The Drill
To begin the basketball conditioning drill the athlete lined up on the baseline, underneath the basket, will begin to accelerate towards the basketball placed just behind the free throw line. As the athlete accelerates towards the basketball the anchoring partner needs to pull on the Reactive Stretch Cord to provide assistance, and implement overspeed training into the Basketball Tower Layup Drill. Overspeed training is a process by which athletic performance is enhanced by forcing the body to recruit more muscle tissue by forcing the body to move faster than it normally would, while maintaining control and good running form throughout the basketball conditioning drill.
When the athlete reaches the ball placed at the free throw line they will stop. Remain under control, and pick up the basketball while shifting their balance to be ready to accelerate towards the basket. Balance and change of direction are two crucial elements of any basketball player’s game and this portion of the Basketball Tower Layup Drill will help athletes refine both of these skills.
As the athlete continues through the basketball conditioning drill and accelerates back towards the basketball goal the anchoring partner needs to add a proper amount of resistance. Use the Reactive Stretch Cord, to optimally challenge the athlete, but do not give so much resistance that running form breaks down. It is important as the athlete explodes back towards the basket, they remain under control and keep good form throughout the basketball conditioning drill. This means athletes have a good forward lean, stay low, and maintain center of gravity while accelerating and powering through the resistance all the way to the basket. Athletes should keep in mind the fewer dribbles it takes to get to the basket, the better. Fewer dribbles during the basketball conditioning drill means you are powering through the resistance and working off the balls of your feet.
The basketball conditioning drill Basketball Tower Layups should consist of 8-12 repetitions before taking a break. Remember, there will be short breaks in-between each repetition of the drill, so be sure to keep a good pace throughout the basketball conditioning drill. The Basketball Tower Layup Drill should be performed 2-3 times, altering which side of the basket the shot is taken. This basketball conditioning drill is best performed directly before performing speed training drills are performed in a practice or training session.
Basketball Conditioning Drill | Basketball Tower Layups: Advanced Execution of Drill
After the athlete has become comfortable executing the basketball conditioning drill the anchor may make adjustments to continue to challenge the athlete performing the Basketball Tower Layup Drill. The adjustment will be made as the athlete accelerates towards the basket from the free throw line and begins to become airborne in the shooting process. As the basketball player becomes airborne in the basketball conditioning drill the anchor should begin to vary the resistance (increase or decrease). This variance in resistance, as the athlete goes up for their shot, will help challenge the shooter and mimic game like shots close to the basket, where they will be receiving contact. Remember to ease into this advanced phase of the Basketball Tower Layup Drill and be sure the participating athlete maintains good form and is comfortable with the basketball conditioning drill and the resistance/assistance provided by the Reactive Stretch Cord. Anchors should be sure they are providing the correct amount of resistance so the shooter can maintain balance and good form throughout the Basketball Tower Layup Drill.

